I. Verify
Verify that you can see all of your units in the mobile app, under your account. The tech support team has manually attached them to your account.
II. Set up your LoRaWAN Gateway.
Find your WiFi/ethernet router
Remove the back panel on the LoRaWAN Gateway
Plug an ethernet cable between the ethernet port on your LoRaWAN Gateway and an open port on your WiFi/ethernet router.
Plug the power adapter provided with your LoRaWAN Gateway into the gateway and into the wall.
Wait a couple of minutes for both the LoRa and Ethernet indicators to light on the Gateway's front.
Install and configure your meters
Note: your meters will automatically associate with the gateway and access the cloud, even at distances of 200m+ from the gateway.
1. Locate the water line

2. Select install location

3. Clean install location

4. Power up the device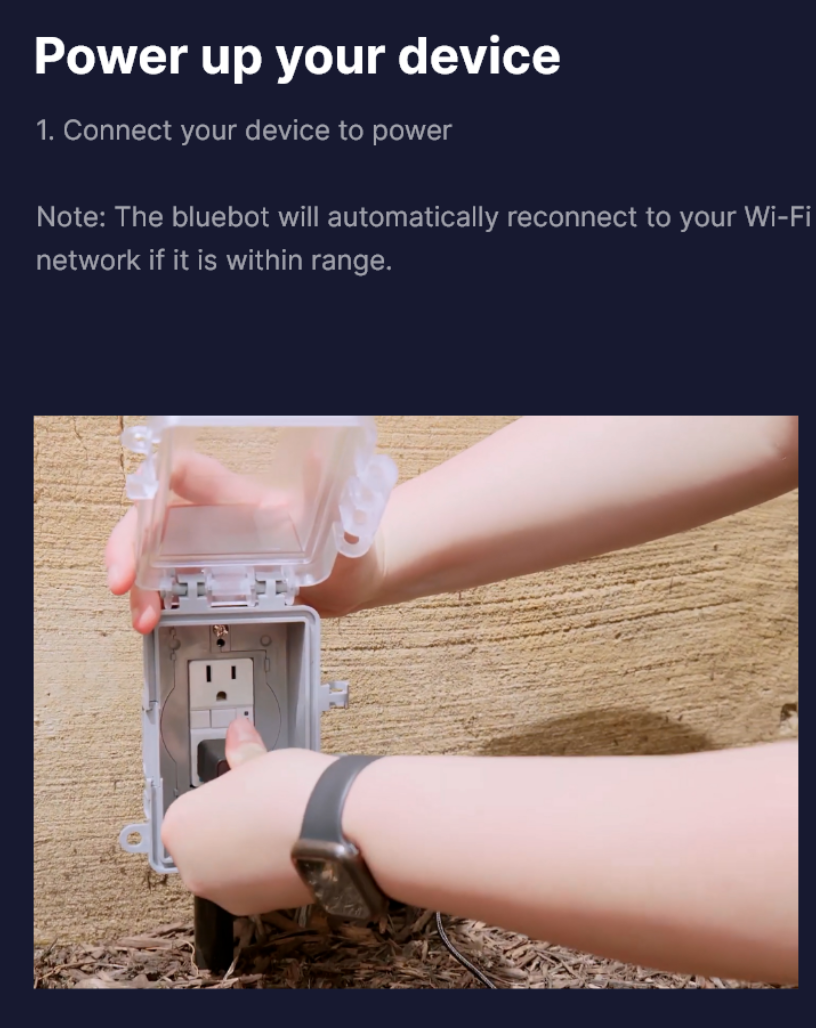
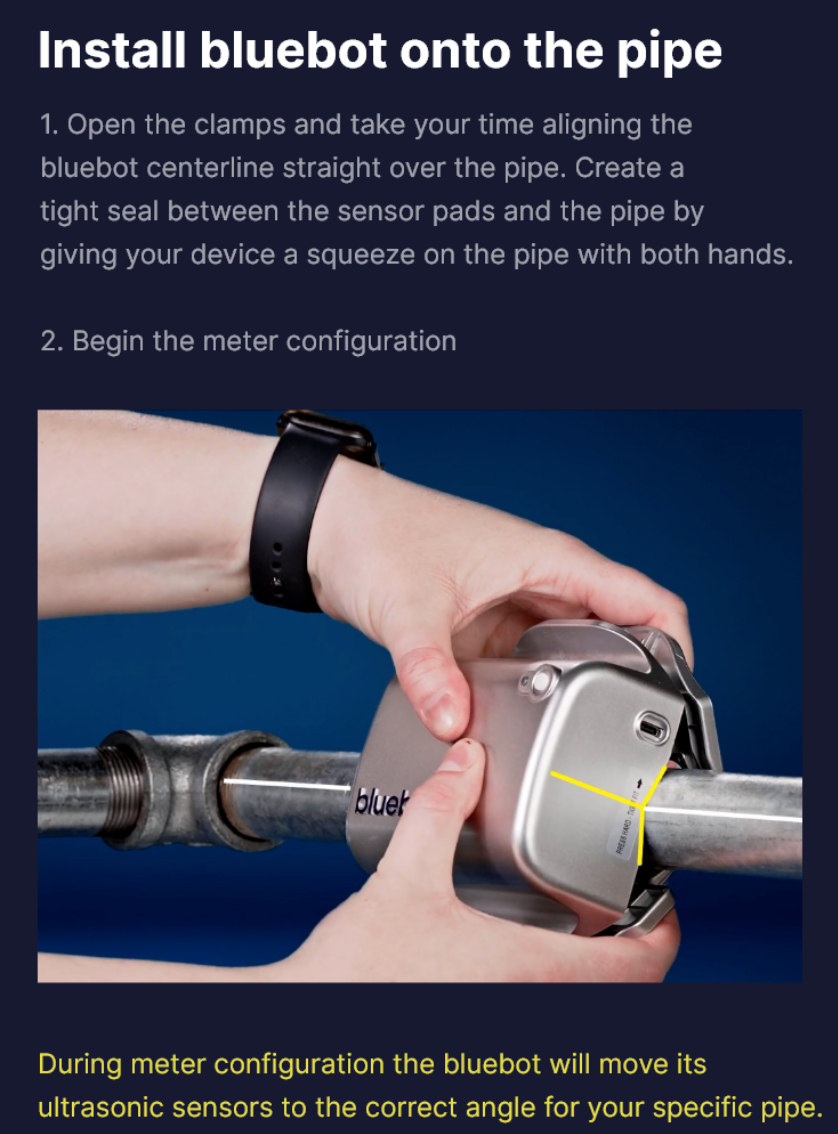
5. Install bluebot onto the pipe
6. Set the pipe material
Navigate into the device setting for your bluebot to set the pipe material.
From the mobile app dashboard screen, select ‘Devices’ in the bottom menu
One the devices screen, select the device you are installing matching the serial number on the device
The device screen now displays
From the bottom menu on the device screen, select ‘Settings’
The settings screen for your device now displays
Scroll to the bottom of the settings screen and tap ‘Pipe Type’
The pipe type screen displays
On the pipe type screen use the drop down to select the material type of the pipe you are installing onto
Tap ‘Save’


7. Scan the pipe
The meter needs to scan the pipe to determine its size and ultrasonic parameters. You will initiate a scan using the ‘rescan pipe’ feature in the device settings.
Navigate to the device settings screen for the device you are installing using the instructions in (5)
Tap ‘rescan pipe’
The meter will now scan the pipe
If scan is successful, you will receiving a success message. You may then navigate back to the charts screen and tap ‘go live’ to view live flow. Note that zero point calibration is not required for most install locations.
If scan is not successful, please retry scanning. You may need to check the placement of your meter as described in the above images. The meter should be as far as possible away from bends in the pipe or fixtures, should be on clean pipe, and may interact poorly with pipes that have scale on the interior pipe surface. A failed scan is frequently indicative of poor ultrasonic qualities at the install location or meter placement issues, and can be resolved by correct placement on a good section of pipe.
If you experience multiple scan failures, request further technical support and include images of your install location and meter serial number.
8. Zero Point Calibration (Optional)
The qualities of some install locations cause the meter to read invalid ‘phantom’ flow. This is resolved by setting the zero point of the meter.
Turn off all flow to the pipe through the meter install location
Note the the blue LED on the meter continues to blink
Navigate to the settings screen for the meter being installed
Tap ‘set zero point’
After a few minutes, note that the blue LED on the meter no longer blinks
Restore flow to the pipe at the meter install location
You may verify flow reading using the live flow feature from the meter’s charts screen.
If you have any questions, please submit a support ticket or call (831)275-2715 and leave a message. A member of our support team will call you back within 24 hours.
Was this article helpful?
That’s Great!
Thank you for your feedback
Sorry! We couldn't be helpful
Thank you for your feedback
Feedback sent
We appreciate your effort and will try to fix the article